This has been on my list-of-things-to-blog for AGES, now, and there have been several Fridays that I have shamelessly pushed it back to write about something else, but this is SO.IMPORTANT.
It also happens to be something I LOVE, but I didn’t know I loved it, at first. In fact, I thought I hated it. I was intimidated and I was scared. In the beginning, I was afraid of:
- Missing focus… on someone, anyone.
- People who were blinking. I’m a rapid-fire blinker. Want to have a blink-off? I’ll probably win. I was afraid of people like me.
- Too much space – having too much dead space above or below people.
- Too little space – having people to crammed together.
- Stiffness. Large group shots have the potential to look very, VERY stiff. And posed. ((shudder))
But then came a time when I shot several extended family shoots in a row and I was forced to get creative… and rely on my wedding photographer shooting skills. Guess what I found out?
I love large group shots.
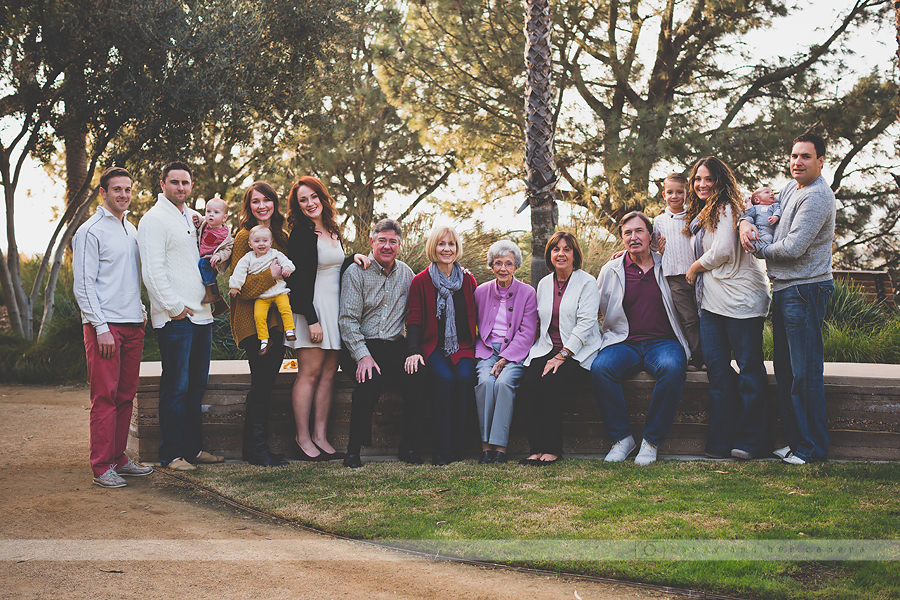
Truth. I look forward to the extended family shoots this year. I just love the chaotic nature of these shoots. There is no shortage of things to capture – individual shots, small group shots, large group shots, candid, etc. And there’s always something going on around you. The participants of the shoot have fun – it’s like a mini reunion. If they’re not up in front of the lens, they’re shooting the breeze with their relatives. And it’s a beautiful thing.
So here are a couple of things I’ve learned along the way to counteract my five biggest fears I shared above. These tricks-of-the-trade will not only help you master the large group shot, but to love it, too!
- Don’t shoot wide open. These large group shots aren’t about achieving an amazing bokeh – the focus is on the people… all of them. Sometimes, it’s even about the sentiment of the house behind them. This should be a given, but really, stop worrying about bokeh for these larger shots. Organize your subjects how you want them (my preference is 1-2 lines of folks, staggered… I like everyone to have all their appendages showing), set your aperture accordingly (I can’t give you a starting point without knowing how many subjects you have or how they’re set up, but I suggest starting at 3.5 AT LEAST when working with 2 lines of people and checking the focus on the back of your camera before starting shooting) and take a couple of test shots to check your settings.
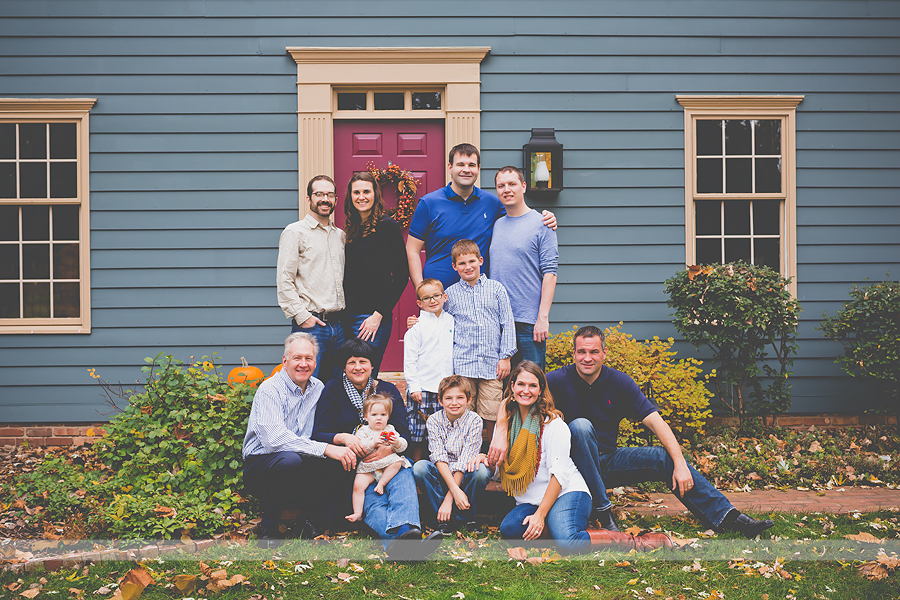
- Take multiple shots without changing your position. Head swaps (or as I sometimes like to do eye or mouth swaps) are your friend. Promise. Learn how to do them and start with taking multiple shots without moving you or your subjects. Then, if that crazy blinking lady (me) is blinking in 2 of your 3 shots, as least you can swap her head (or just her eyes) from the non blinking one for a complete portrait. When I shoot large group shots I shoot in a way that is similar to shooting family or group portraits at a wedding. I take 3 shots of the SAME.EXACT.THING and then breeze back through them on the back of my camera before moving anyone out of the pose, or even moving my own feet to capture another angle. This helps ensure I got the shot and any necessary headswaps will be easy due to consistent lighting, focus, and depth of field.
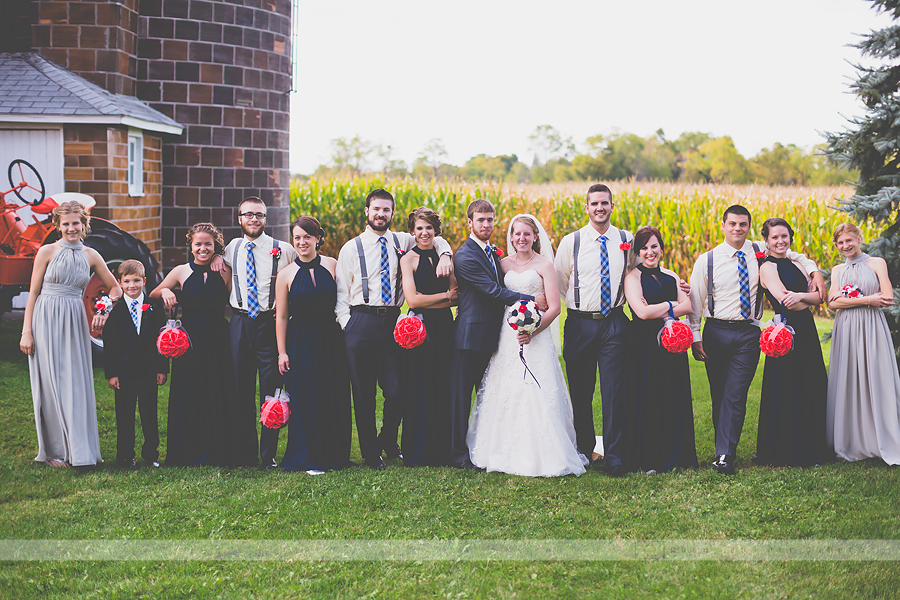
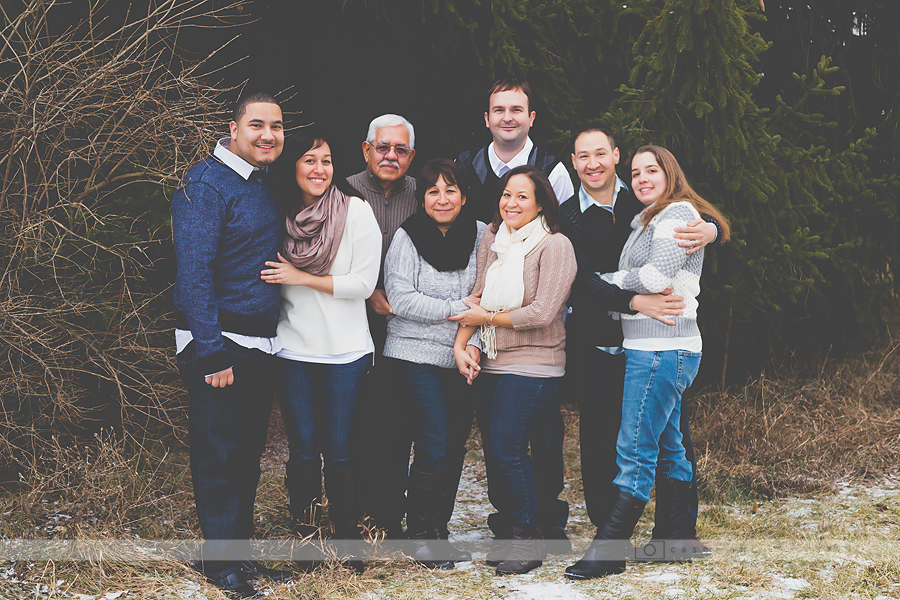
- Set up your subjects on the close plane(s). When I shoot large groups, I typically organize people on one plane, or in more of a ‘gaggle’. When organizing folks on planes, ask them to line up their toes with the person next to them. Check the end of the line once they’re lines up to make sure they haven’t formed a curved line (unless this was your goal) to ensure that your aperture will capture everyone in focus. If you’re putting people into a ‘gaggle’ as I often like to do, encourage them to get their heads together. This helps people line up on a similar plane, even when not standing next to one another. Either way, you will need to adjust your aperture to get the correct focus, but this can help you create a strong composition either with a line of people or a grouping – without too much dead space on any side. Remember, pyramid shapes are your friend and sub-groupings in the larger shots can often help identify families.
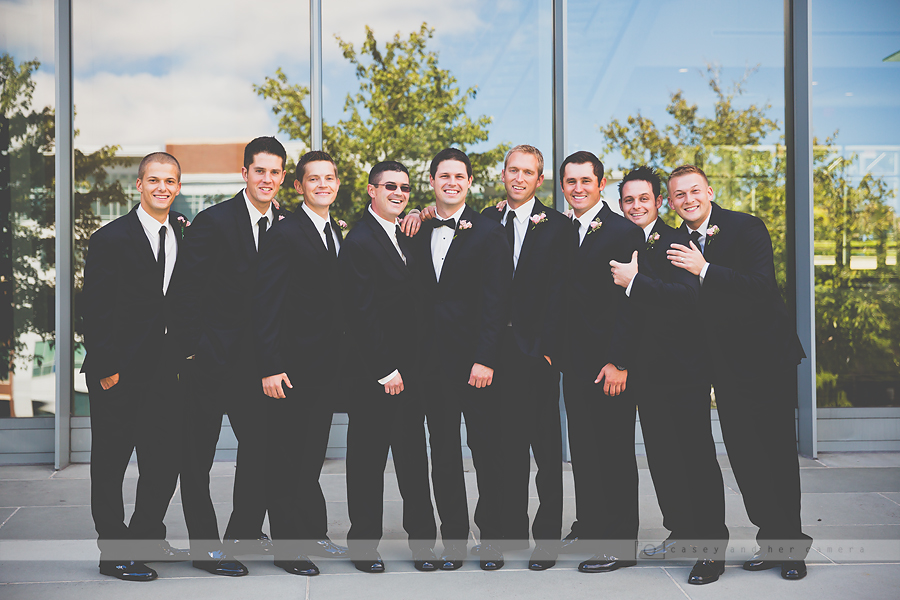
- Don’t be shy. Your clients can’t see whether they’re standing too close or too far away from Uncle Joe. You have to be their eyes. You’re not expected to have a camera glued to your eyeball for 90 minutes… it’s your job to create art. Set up your group, step back, and LOOK. Is everyone spaced close enough or far enough? Is everyone lined up right? Does anyone need to tilt their head, shift their weight, etc? Take a close look at every individual – you’ll thank yourself later before you have to Photoshop Uncle Joe closer to the group. 😉
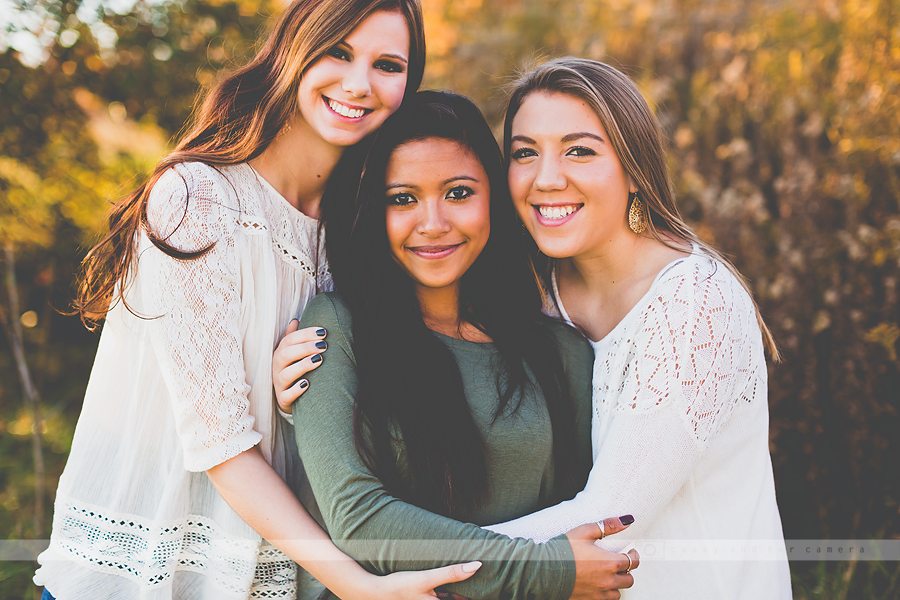
- Physical touch is key. When you’re shooting large groups, interaction is key…especially if you’ve got everyone in a big line. I like to start off my sessions by giving my clients posing tips – I have them for both men and women and I go over a general ‘how to look like your most flattering self’ spiel before I ever start shooting. It’s not specific to body types, per say, but just human figures and taking them from a 3D world and capturing them on a 2D screen. For large group shots (or even just larger families) I will also give away the secret – if you aren’t touching in a photo, you tend to look cold and distant. A hand on a shoulder or knee, linking an arm, or even putting an arm behind someone automatically makes you look connected – physically and emotionally. I know this example only shows three people, but if you posed three strangers this way they automatically look connected. People are often afraid to impose on other’s bubbles and it’s your job as the photographer to find out what your client’s are comfortable with and push them to their limits to achieve the strongest image.
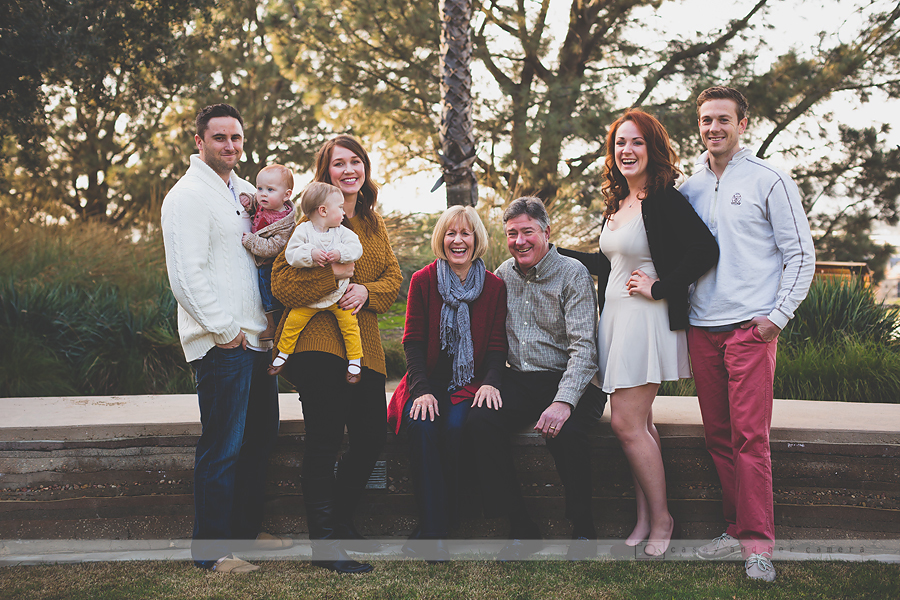
- Get your subjects to relax. Of course, I always try to make my subjects laugh, but let’s face it… when I’m working, my jokes are LAME. I’m too focused on the other things going on. So what do I do to get people to laugh? I tell them to fake laugh. I just laughed out loud thinking about it. Seriously… try it… right now. Just force yourself to do your best-and-most-convinceable-laugh right now. A real one – not a Dr. Evil laugh. It’s ridiculous, right? Did you ACTUALLY laugh afterwards? Most people do. If you’re doing it in a room by yourself, maybe not as funny (or maybe more, depending on your sense of humor), but do it with an entire group of people. You won’t be able to stop yourself from laughing – if not at you, then at the person next to you. It breaks the tension and gets people to look more relaxed. Every once in a while you come across a family that should earn some awards for their fake laughing skills… I’m talking Oscars, here. 😉
casey and her camera is an Indianapolis Family Photographer specializing in family, couple, lifestyle, senior, and wedding photography for Indianapolis, Indiana and the surrounding areas.
Share this:
Indianapolis Family Photographer | For Photographers’ Fridays | Large Group Shots
Feb 20, 2015
